Managing and Creating Layouts
Written By Ed Kinne
This article reviews the basics of managing and creating a new Layout.
For detailed instructions for the Layout Builder and editing Layouts, see
Using The Builder Tool For Layouts Or Messages
What are Layouts?
Layouts are designs for Signage built in Korbyt that allow you to arrange and modify a variety of elements on a canvas.
Elements come in many different forms, ranging from images and text to tables that contain real-time data. The result is a finished design that can be sent to a screen via a Playlist.
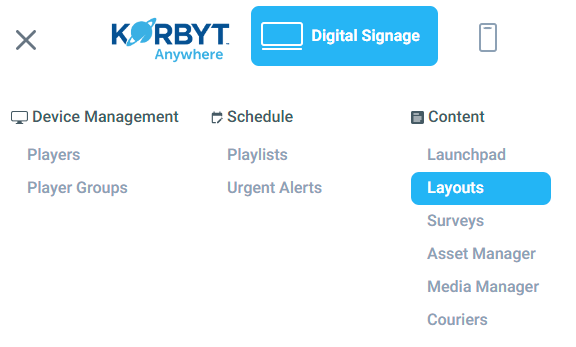
Layouts can be found in the Mega Menu, in the Content column
Managing Existing Layouts
Layouts are saved in a Draft or Published status.
Published - a Layout that has been approved to be seen on a screen
Published does not mean it is on a playlist and being seen, but has been cleared to be
Draft = the layout has been saved, but has not been published
Authors in Korbyt can only save designs and require approval/publishing from higher level users
The actions that are available for a Layout will vary slightly based on it being in Draft or Published status
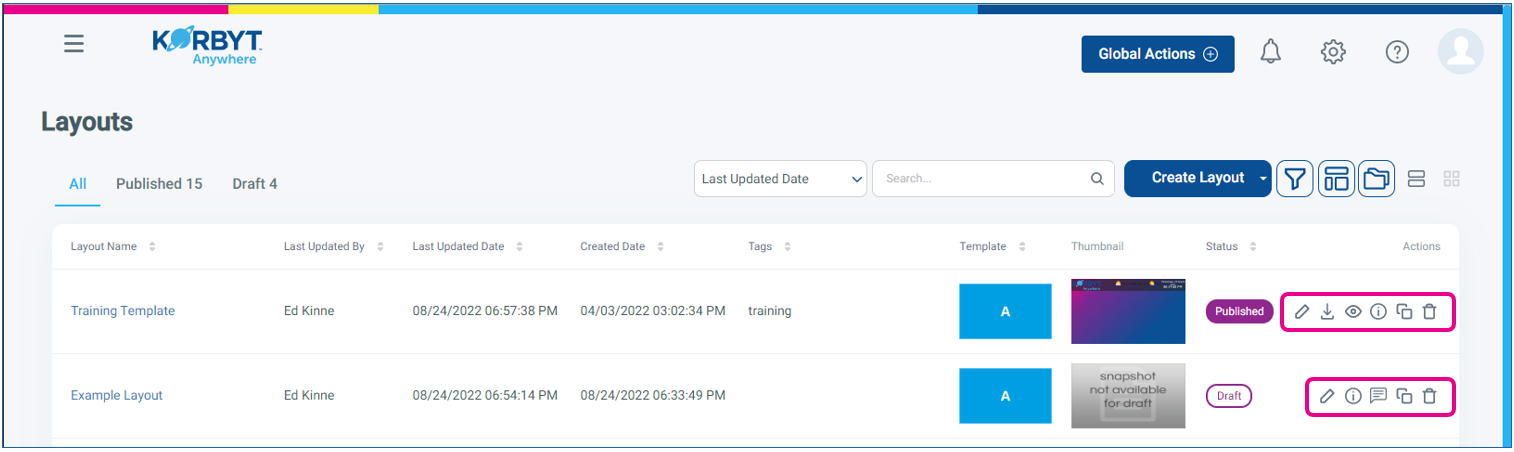
Icon | Action Description |
 | Edit Allows you to edit the layout’s elements in the Builder Tool |
 | Export Layout (Published Layouts Only)download all associated HTML, CSS, JavaScript, and media files, which will be exported as one ZIP file. |
 | Preview Layout (Published Layouts Only)Allows you to preview the layout and all associated elements in a separate tab within your browser. |
 | Request Approval (Draft layouts Only)Allows you to request approval from select users who have Approval rights for the design |
 | Edit Metadata Allows you to update the layout’s settings. (Name, Validity Dates, Tags) |
 | Clone Layout Allows you to clone the layout so that you can reuse its settings and elements for new layouts. |
 | Delete permanently delete the layout from Korbyt Anywhere. |
Creating a New Layout
The specifics of how you start a new layout in Korbyt will vary slightly based on the configuration of your Korbyt solution or if you are starting a Fixed design.
Once the design is started, the Layout Builder Tool will operate the same
Creating a Dynamic Layout in the Template Experience
The newer Templated experience offers the ability to start a new design using templates.
Dynamic designs will stretch to fill whatever screen size/shape they are projected on
Expand for More Details on using the Templated Experience
Expand for More Details on using the Templated Experience
click the blue Create Layout button to drop down the list of creation options
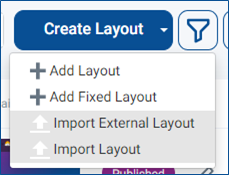
Add Layout
the most common option
Creates a new layout that will adapt to standard screen proportions
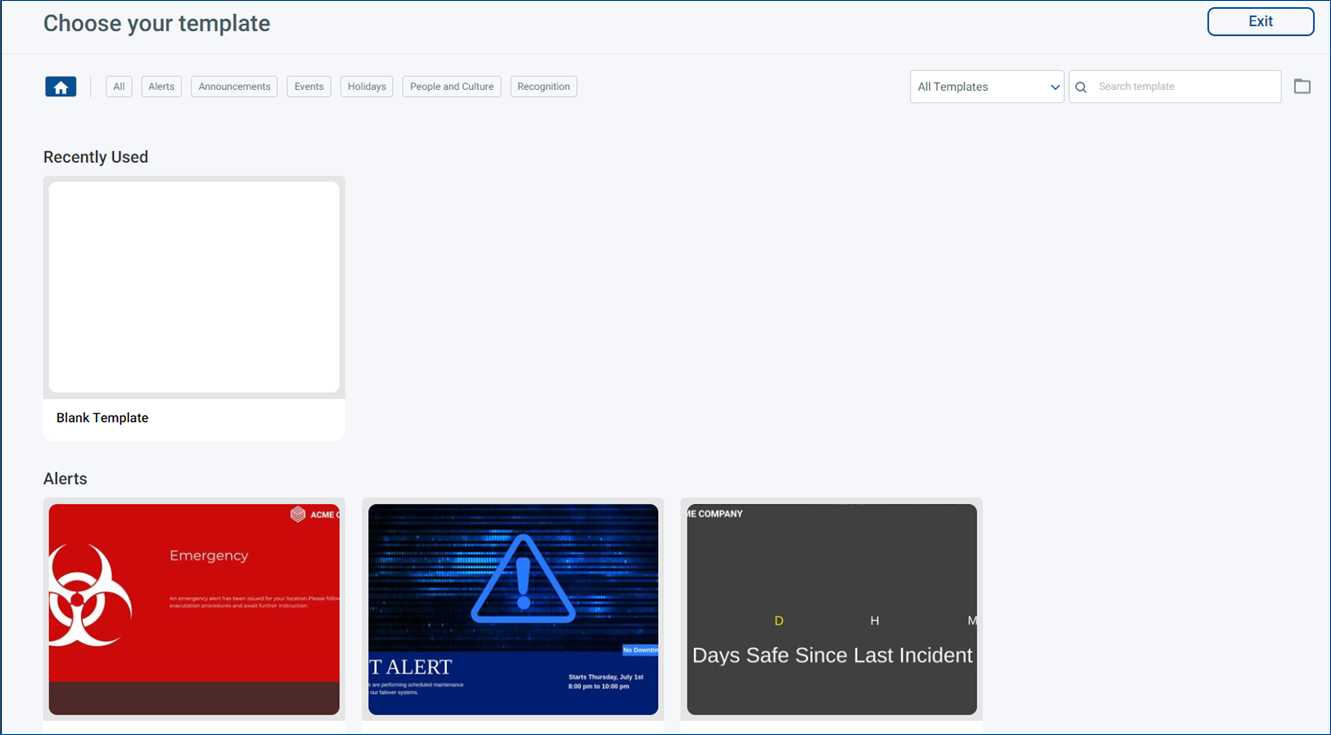
When adding a Layout in this way, you will have the ability to select a blank canvas, or a templated starting point
+Add Layout
The most common option for creating a new screen layout. You will have the option to select either a blank canvas or a template with some elements to get you started.
Designs built through this process will scale to different display ratios, making themselves as large as they can without distorting elements on the screen.
After clicking +Add Layout you will be shown the available templates in your tenant
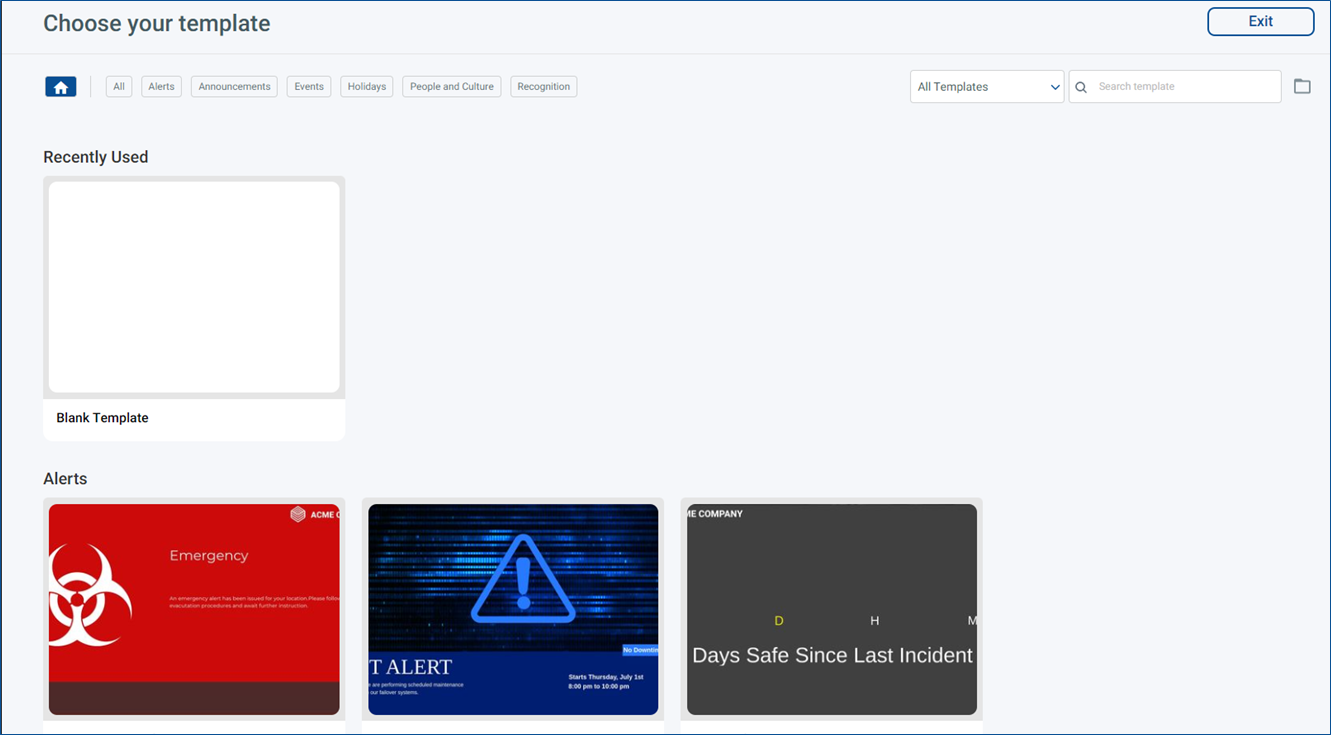
These will include Korbyt provided templates, and ones created specifically for your tenant
For templates other than the Blank Template, you have the ability to preview what it includes before selecting
Once you have found a template you want to use, click the Add button that is present when your mouse is over it
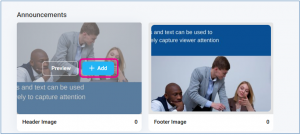
After clicking the blue +Add button, you will have a popup that asks for the Layout Settings
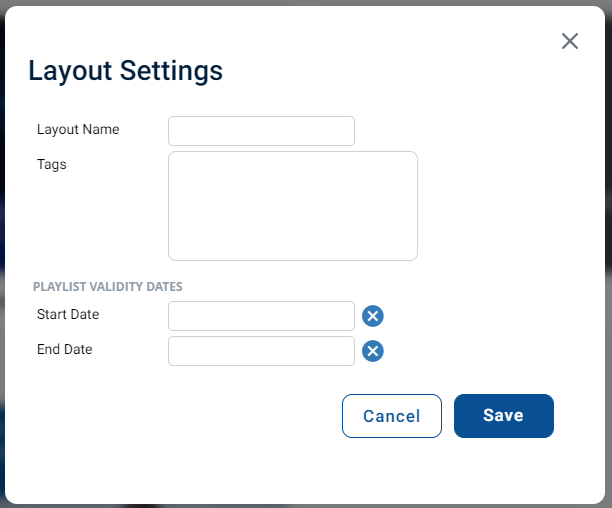
After defining the Layout Name, Tags, and Validity dates, click Save to open the builder tool with the elements from the template
Optional and if enabled for your tenant, you will have a check box to select the Record Proof of Play in the layout settings
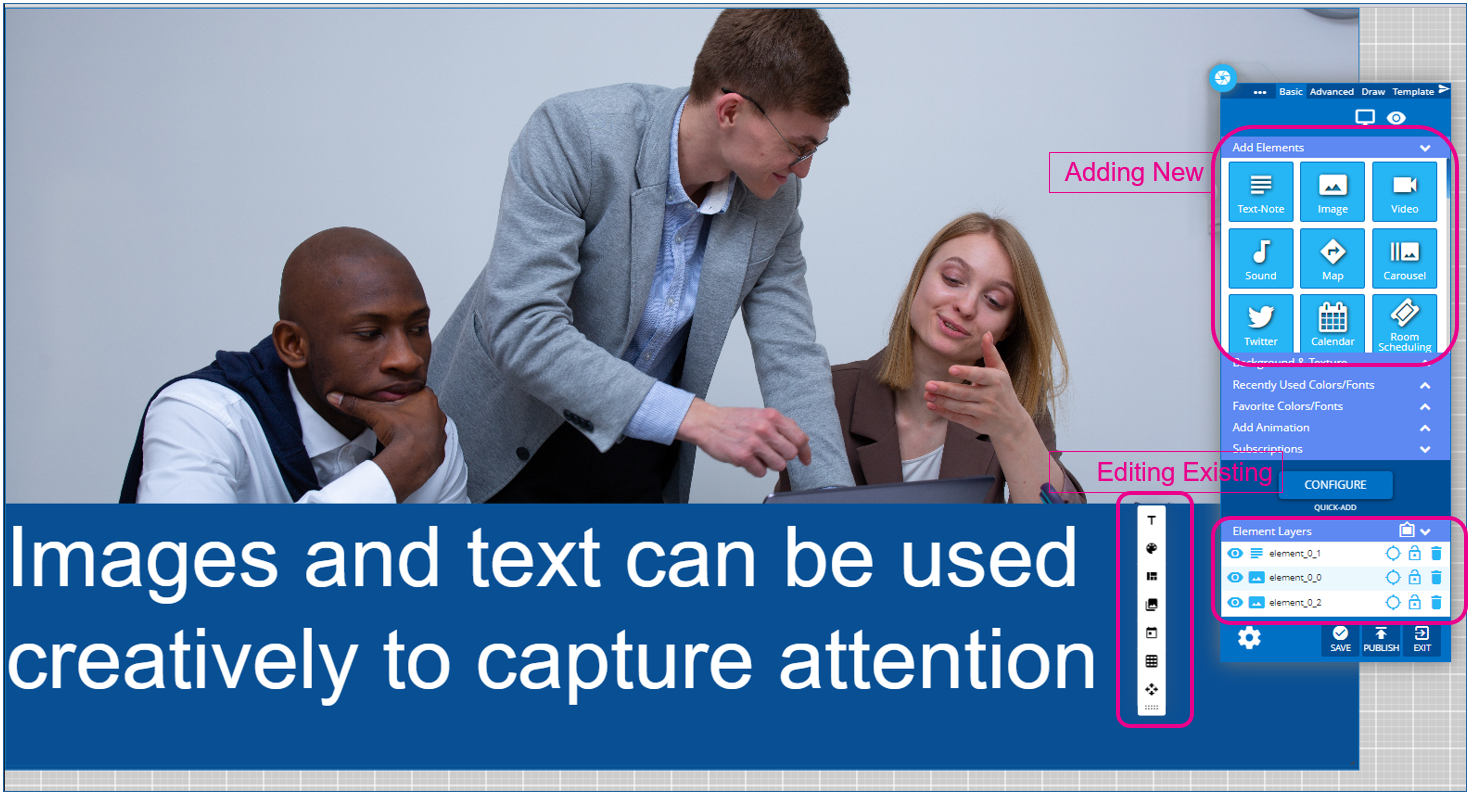
You will then be able to customize the elements that were part of the template, or add new elements
Creating a Dynamic Layout in the Classic Experience
The classic experience allowed users to create a design first by selecting several zones that the design would be split into. Once created, these zones can not be moved or adjusted
Dynamic designs will stretch to fill whatever screen size/shape they are projected on
Expand for More Details on using the Layout Style Experience
Expand for More Details on using the Layout Style Experience
Click Create Layout to begin the process of creating a new layout
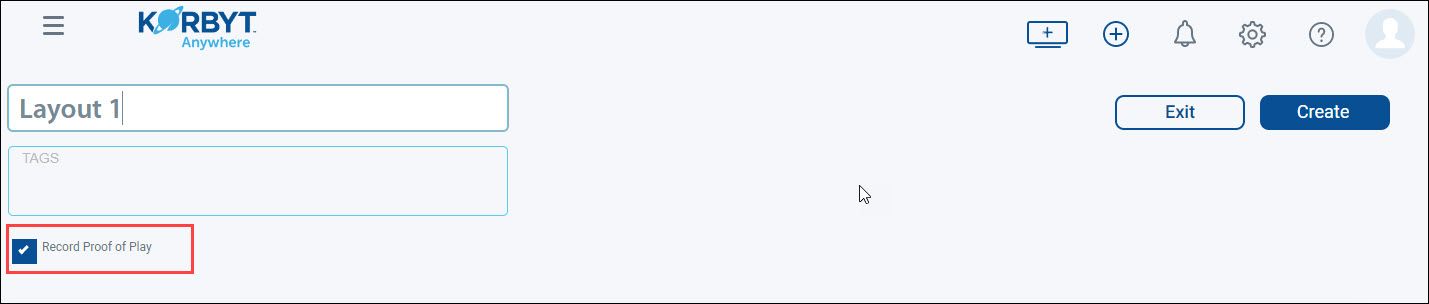
Enter a layout name.
Add custom tags.
Optional and If enabled for your tenant, select the Record Proof of Play checkbox to record how long and how often your layout is used when attached to a playlist.
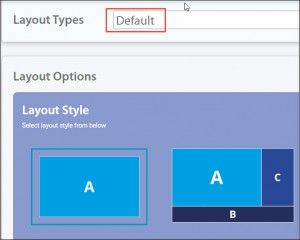
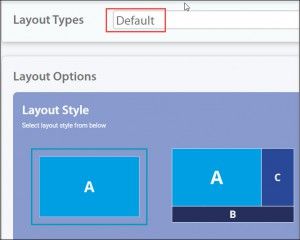
Select Default from the drop-down of the Layout Types
Select the Layout Style that represents the number and shape of zones
The A style is the preferred selection unless you have a specific use need
Click Create.
Creating a Fixed Layout
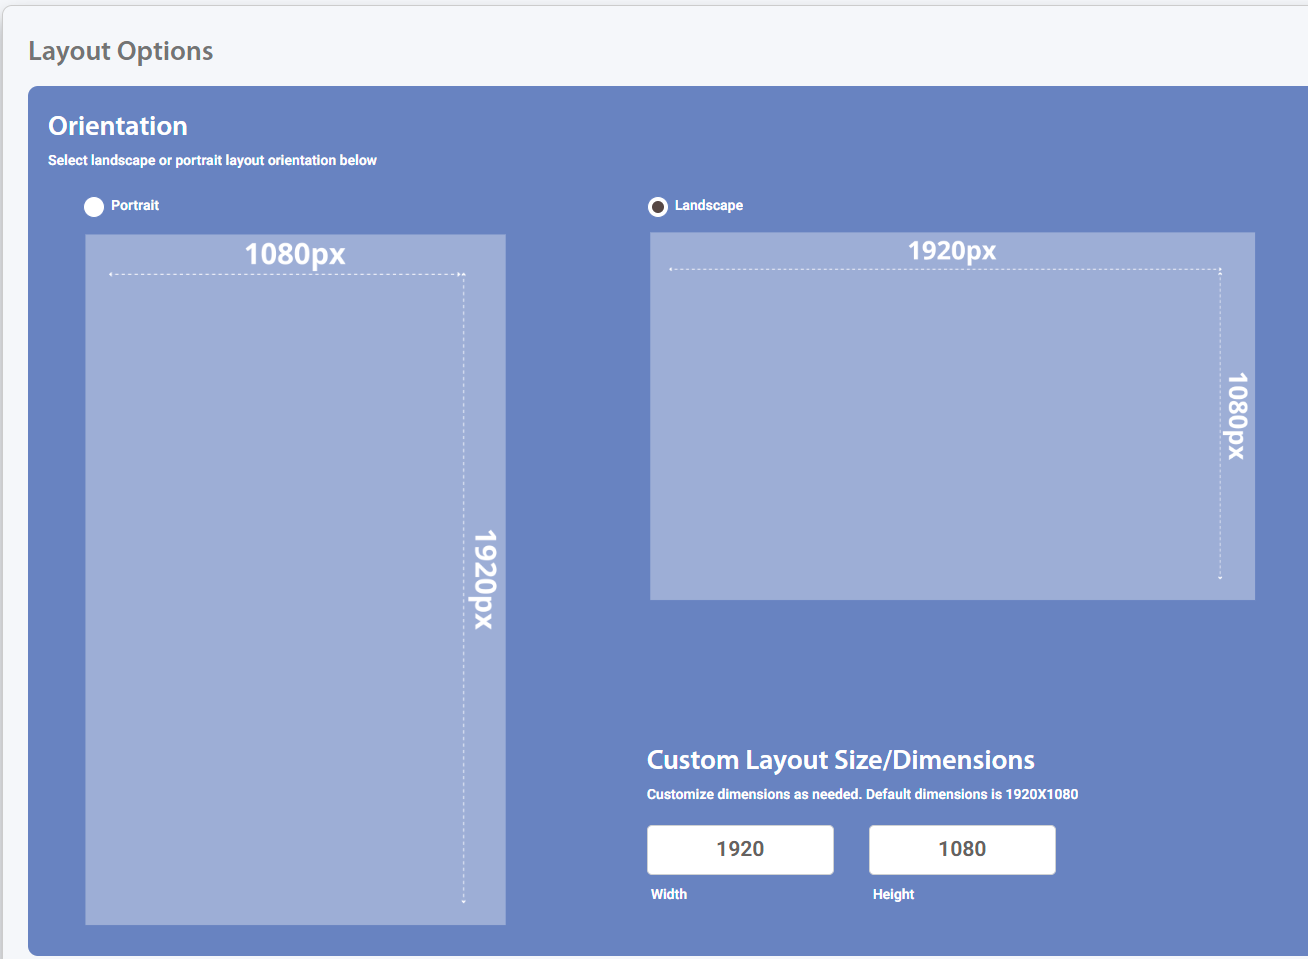
Fixed Layouts are built to a specific pixel height and width that is set when it is created.
This is a great Layout style for odd-shaped screens or multi-screen video panels that need to act as 1 display
Expand for more detail on creating a Fixed Size Layout
Expand for more detail on creating a Fixed Size Layout
+Add Fixed Layout
Use the Create Layout drop down to select +Add Fixed Layout
Add A Layout name and any Tags
Specify the height and width of the Layout in pixels in the lower right corner, Or select a standard HD Screen in Portrait or Landscape
Click Create
Click Create and you will be in the Layout Builder
Fixed designs have a window that shows the area of the design that is currently being viewed
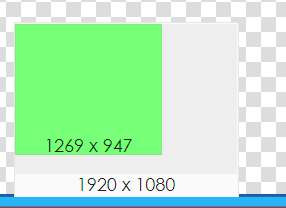
The Green area represents the portion of the canvas on screen currently
The total is the full size
Build your Design as normal
Now that you have started a new layout, you can use the Builder Tool to customize your Design
Importing / Exporting Layout features can be used If:
Within Korbyt, Layouts and Messages can be exported and imported. This can be useful to
Share creative elements between Multiple Korbyt Tenants.
The Layouts can be created on one Tenant, exported from that Tenant, and then imported to another Tenant.
To save copies of a Layout or Message to your local computer.
Protecting it from another user accidentally deleting elements or the whole layout itself
Then, later, importing it back to the tenant if needed
To import a Layout or Message that was built in a different design tool that is compatible with Korbyt
How To Export from Korbyt:
Navigate to the item you would like to export
Either Layouts or Messages
Locate the Action Icons and click the Export icon
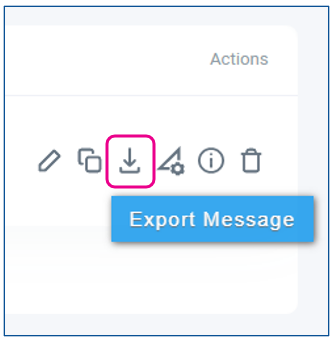
The icon will look the same for Layout and Message Exporting
To export a Layout it must be in Published status
This will download a zip compressed folder to your computer
This zip file should be left intact and unaltered if it is to be used to import back into a Korbyt Tenant
How to Import a Korbyt Layout
Navigate to the Layouts Section
Click the Create Layout button
In the Layout Create Screen, use the Layout Types dropdown to select Import Layout
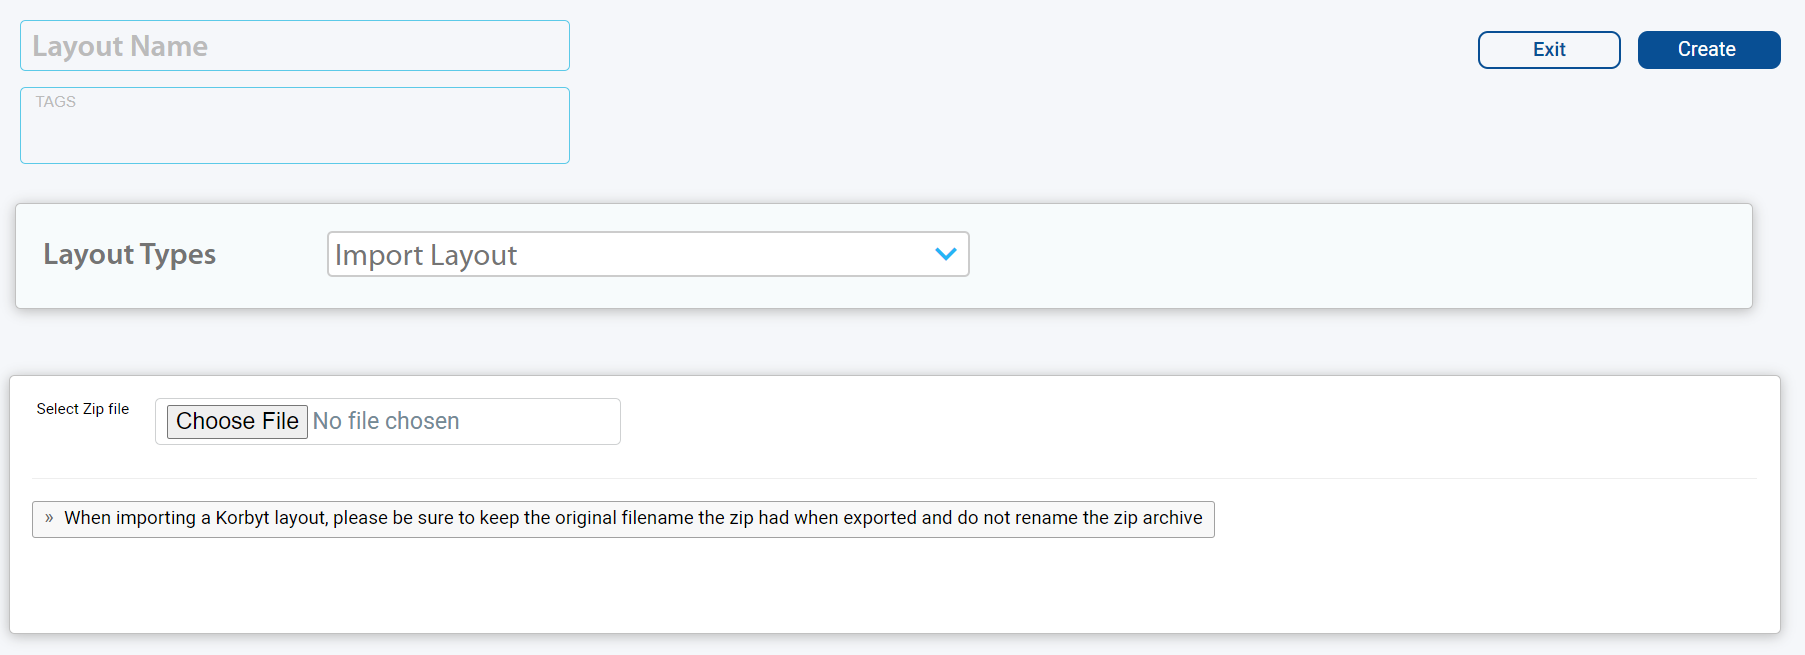
Fill in the Layout Name, any Tags you would like to use
Click Choose File to select the exported layout zip package from your local computer
Click Create in the upper right
How to Import a Korbyt Message
Navigate to the Message Section
Click the Add Message button
In the Add New Message screen, use the Templates dropdown to select Import Message
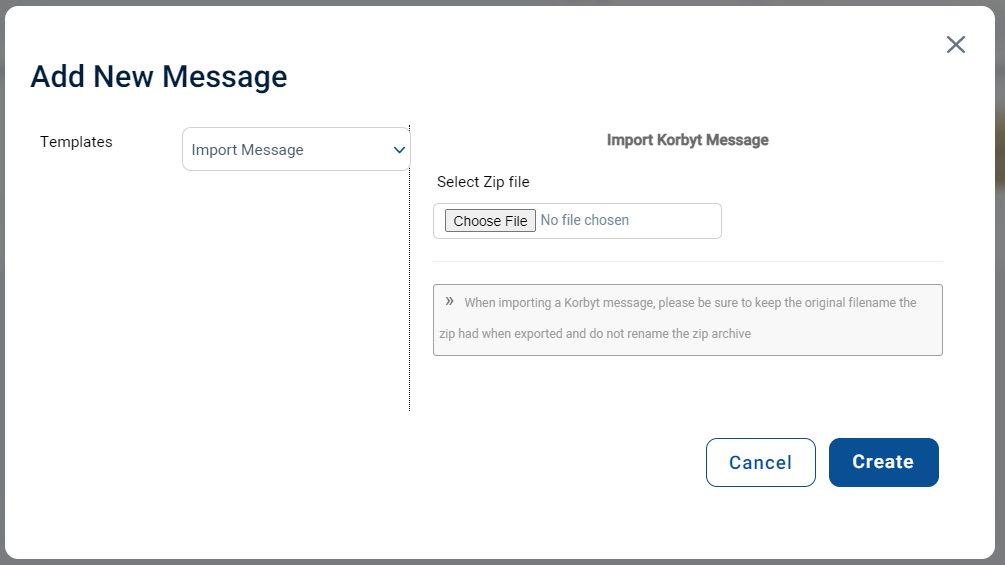
Click Create in the lower right
How to import a Layout or Message that was not originally built in Korbyt
The steps to import an item not originally built in Korbyt are largely the same as the ones above, but you should select External Layout or External Message instead of “Import” from the appropriate drop-down list
While the Korbyt system supports importing layouts and messages built in other editors it is not recommended and may prove difficult
Still need help? Share an idea